Pure Golang AI Agents
This article explains how to build a local Go-based AI agent using Ollama and simple tool calling,[…]

Thinking in Loops: Mastering ReAct Prompting
ReAct (Reasoning and Acting) is a prompting technique for large language models (LLMs) that interleaves reasoning steps[…]
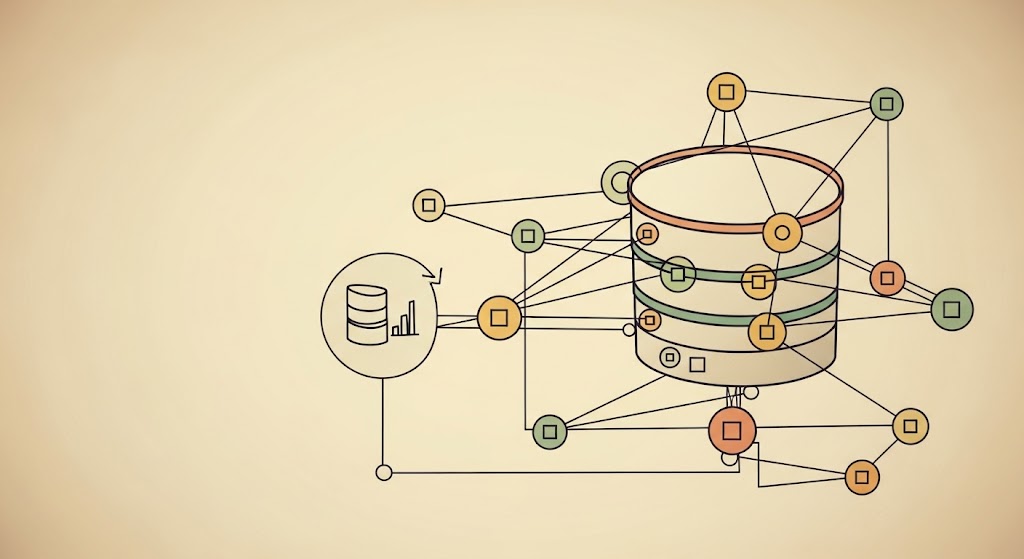
Intelligent Semantic Search with Document Deduplication
This blog post introduces a robust document processing pipeline that implements semantic vector search with advanced duplicate[…]
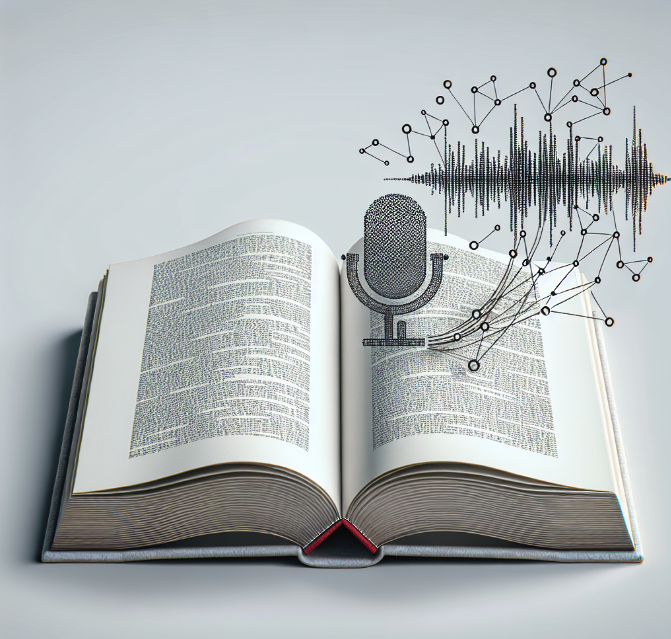
AI Research: Text To Audio Semantic Search
In this article, we will walk through the creation of a robust text-to-audio search tool using Jupyter[…]
AI Research: Text to Video Semantic Search
Ever felt the frustration of trying to find that one moment in a video without having to[…]

AI Research: Image to Image Semantic Search
Have you ever wondered how to build a search engine that understands images like humans do? With[…]

From Pixels to Paragraphs: How AI Powered Image-to-Text Semantic Search is Revolutionizing Content Discovery
When you look at a photo, your brain instantly processes its meaning and connects it to related[…]
From Lexical to Semantic: Advancements in AI-Driven Text Search
The quest for more accurate and meaningful information retrieval has led to significant advancements in search technologies.[…]

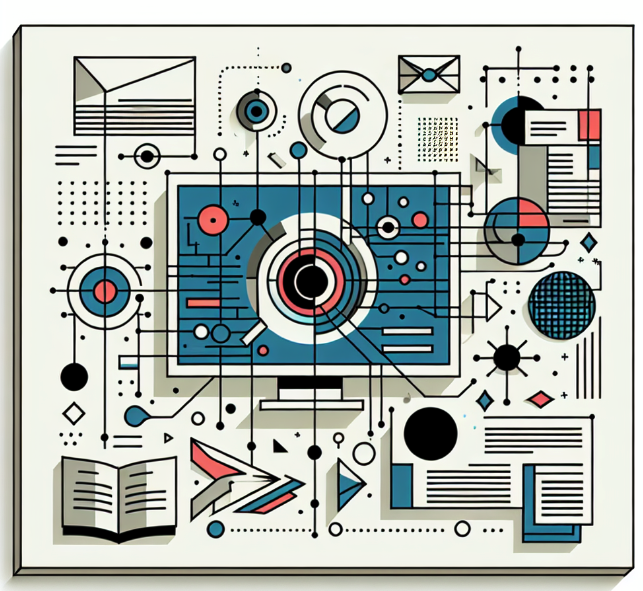
AI Research: Text To Image Search Systems
Text-to-image search represents a significant advancement in how we interact with visual data, moving beyond traditional keyword-based[…]
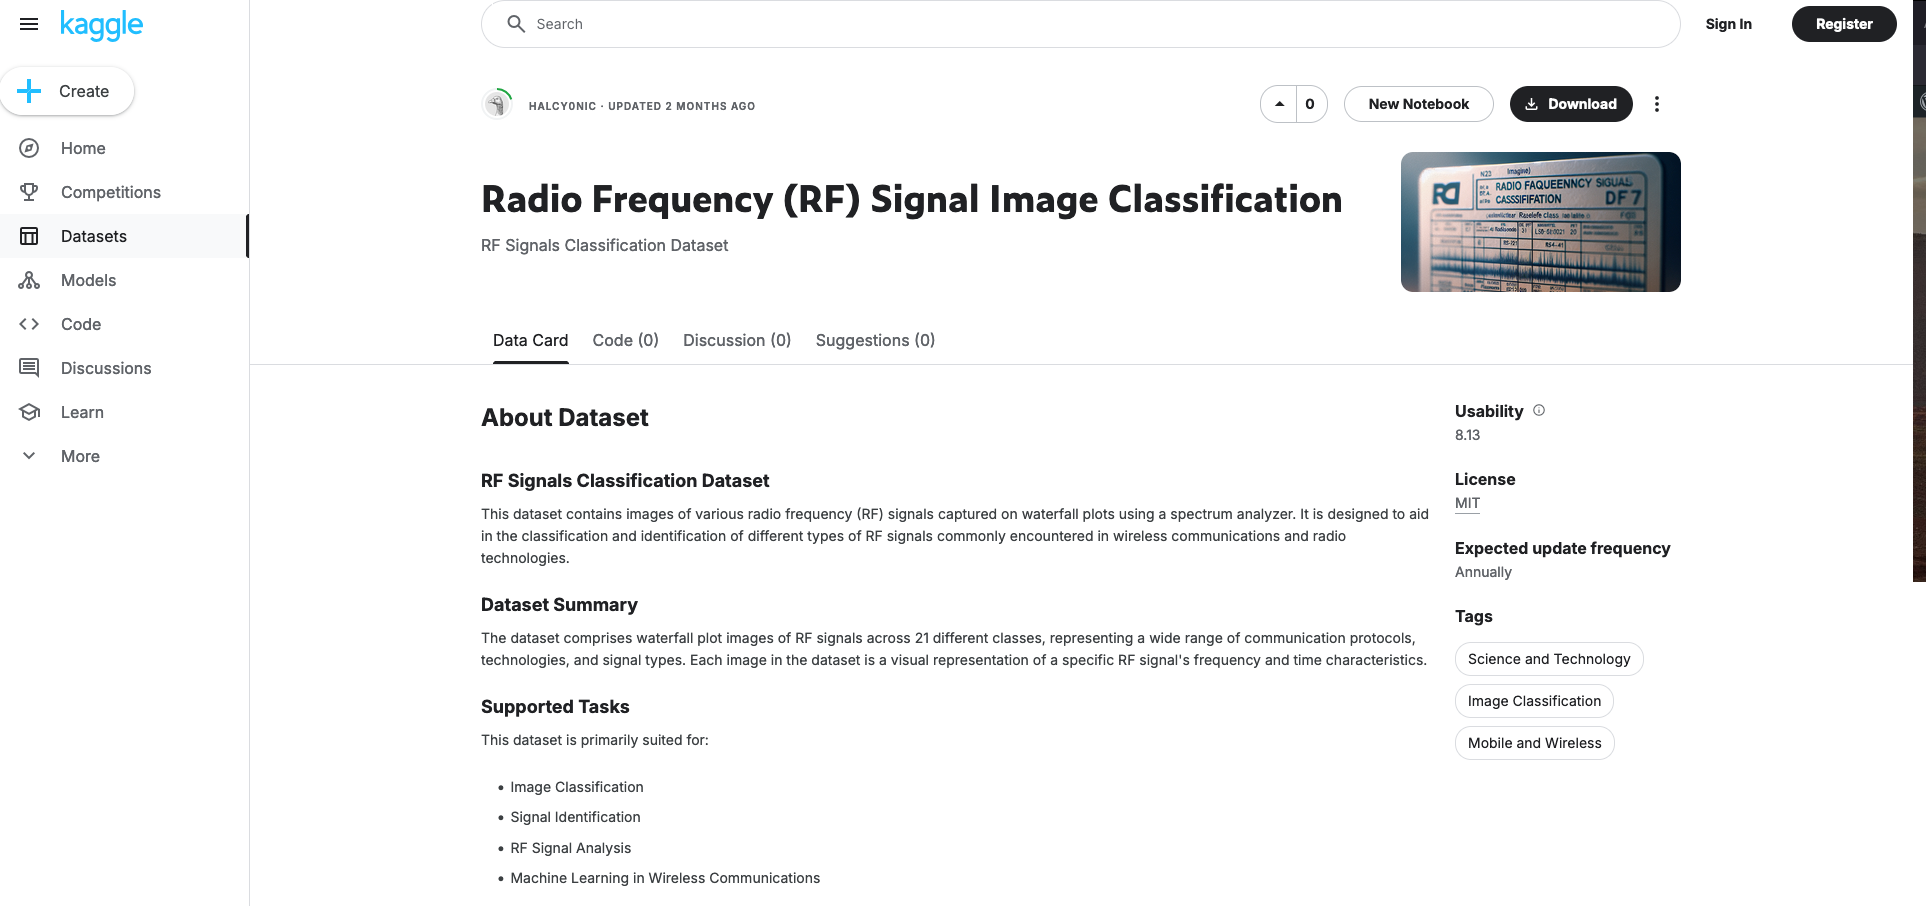
AI Research: Radio Frequency (RF) Signal Image Classification Dataset
Recently I released Version 1 of the Radio Frequency Signal Classification Dataset on Kaggle. The Radio Frequency[…]